Article: 7 Instagram tips: How to create perfect Instagram photos
7 Instagram tips: How to create perfect Instagram photos
We keep getting asked how we actually create our Instagram photos. As you probably know, the quality of your photos is pretty crucial to your reach and following on Instagram. In the sea of different Instagram profiles, those that are particularly aesthetic stand out. Today we would like to reveal the "secret" and show you step by step how to create great content for Instagram.
WHICH INSTAGRAM PHOTOS ARE SUITABLE FOR WHICH TOPIC?
You can post pretty much anything on Instagram as long as it fits your own imagery and inspires and/or adds value to the Instagram user in their everyday life.
That brings us to the most important point: you have to offer the “normal” Instagram user something that really surprises and inspires them.
Remember, most subscribers quickly scroll through feed during their lunch break or in the evening after a long day at work and just want to be entertained. You must therefore post compelling Instagram photos that stand out from the crowd of other posts.
Only then will you also get likes, followers and comments. Logically, you have to create high-quality content that suits you, your business and your imagery.
Important tip: We recommend that you do not just start posting on Instagram. Instead, ask yourself what topic you want to pursue in the first place and then focus on it!
Tip: Keep your Insta feed variedIt is important that you get variety in your Instagram channel in order to offer your followers added value. A very popular format, which we also use ourselves, is to alternate photos with graphics and videos.Graphics and videos (reels) are very popular these days and you can also use them to define your branding using your branding colors and fonts.
These formats work e.g. B. very good on Instagram:
- Before/after post: Here you can share your own personal results with your customers. In this way, your potential customers can be directly convinced of the results of your work.

- Participation campaign (challenge): Would you like more interaction in your community? Then invite your followers to a one-day or multi-day challenge.

- Checklists or Tips: People love checklists and tips! So find a burning topic in your niche and use your expertise to show what people should definitely think about.

Important: In our opinion, Instagram is no longer about developing something completely new!
Instead, we recommend that you use existing Instagram formats for your inspiration and then use your own imagery to make them unique.
Interesting to know:
The Instagram aesthetic is always changing. Up until a few years ago, flat lays were absolute range giants. Today they only fit into a few niches, eg food or product pages.
STEP-BY-STEP: CREATE INSTAGRAM PHOTOS
STEP 1: SUITABLE BACKGROUND!
If you focus on photos of yourself, then you should choose suitable backgrounds. Bring variety here, too, so that your photos don't look one-sided.
Your background should be neutral in color or match your branding (e.g. yellow wall if that is one of your branding colors).
Also pay attention to what's in the background (it's annoying when you take photos and end up discovering, for example, a sock that hasn't been put away). You can also place accessories and objects in the picture to emphasise your branding (matching vase, flower, laptop, ...).

STEP 2: CREATE THE RIGHT EQUIPMENT FOR INSTAGRAM PHOTOS
The basic requirement for good Instagram photos is of course good technical equipment. The good news: Current smartphones offer great image quality. So you don't have to get an expensive SLR camera right away.
We currently use the iPhone 13 X PRO for our Instagram photos, sometimes we also shoot with our internal photographer, who then uses the SLR camera.
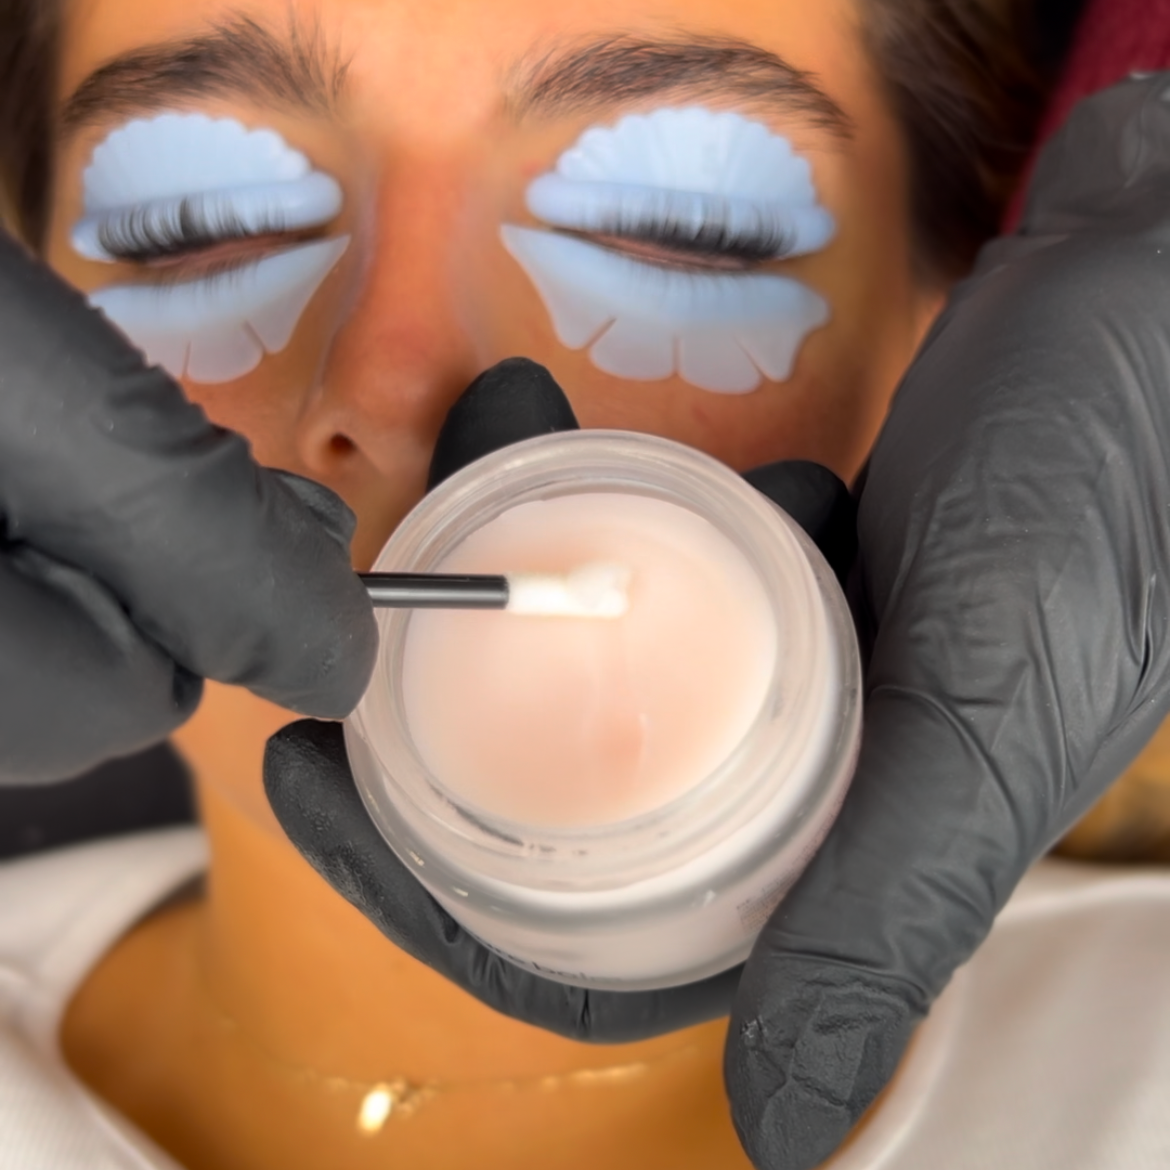
We mostly take pictures of us in our office, since we have set up a studio. Depending on whether it's cloudy or sunny outside, we always have to contend with different lighting conditions inside. That's why we bought two additional soft boxes, which always light up our photos well. You can get these for about 30 euros each. A big advantage: You also have less work afterwards when editing your pictures.
If you want to take pictures directly during the treatment, we have a ring light for your mobile phone for only 7 € , which you can easily plug in and immediately provide you with optimal light.
Click here for the ring light, a great alternative to soft boxes.
STEP 3: TAKE ENOUGH TIME FOR YOUR INSTAGRAM SHOOTING
You should take your time with your Instagram photos, especially in the beginning. You will notice for yourself that your photos will constantly improve with "practice". Over time, you simply get an idea of how to drape the photos most beautifully and which topics are particularly well received on Instagram.
At this point we are completely honest: No, not all of our Instagram photos are taken "live". We shoot many photos in advance. Especially if you have little time for Instagram, then we recommend this strategy. Prepare some "Insta photos" and use your blog pictures or spontaneous pictures for further content. (Apart from before/after pictures - these can be snapped quickly before and after each treatment with the ring light).
Working in shootings has the great advantage that you save a lot of time and can be more relaxed on stressful days because you have already prepared your content. It also makes it easier to focus fully on great imagery.
STEP 4: CHOOSE A GOOD DETAIL
All of your images will appear in a square format on your Page as well as on the Discover page. Accordingly, it is important that your photos are optimised for this format!
Even if you're shooting in 4:5 ratio, the center square crop should look good in your feed (because that crop will be shown in your feed). Users only see the full format when they click on the post.
So when taking photos, make sure that your content will look good square and adjust the photo accordingly.
It would be a shame if an important part of your photo was cut off at the end because you didn't pay attention to the final format.

STEP 5: THE FINAL IMAGE EDITING
xoxo
Your Augenmanufaktur


